10 Best Tile Leveling Spacers for Professional Results

Professional tile work is judged by quiet details: aligned grout joints, even edges, and surfaces without sudden lippage. Tile Leveling Spacers help create that finish, especially across large-format porcelain tiles. Yet they are not a substitute for preparation.

Grand View Research identifies renovation and new construction as major drivers of ceramic tile demand. Its market analysis also highlights the growing use of large-format tiles, which can expose uneven substrates more clearly. The Freedonia Group’s World Ceramic Tile report similarly connects premium tile demand with higher expectations for installation quality. These reports do not measure Tile Leveling Spacers directly. That limitation matters.

Dave Gobis, former executive director of the National Tile Contractors Association, often teaches, “A tile installation is only as good as the substrate beneath it.” That principle guides this selection. A clip may tighten two neighboring tiles, but it cannot correct excessive floor variation, weak mortar coverage, or poor movement-joint planning.

Small details matter.

Professional installers still check flatness with a straightedge, confirm mortar coverage, and clean joints before the adhesive cures. Clip thickness, wedge design, reusability, and removal direction can affect speed and surface safety. Some systems feel excellent in the hand but perform poorly around irregular grout lines. Others save time yet create unnecessary plastic waste.

This guide reviews 10 Best Tile Leveling Spacers for Professional Results. Each option is considered for alignment control, handling, compatibility, and jobsite practicality. No product is perfect. The right choice depends on tile thickness, layout, substrate condition, and installer experience. Expect useful comparisons, but verify manufacturer instructions before committing to a full installation.
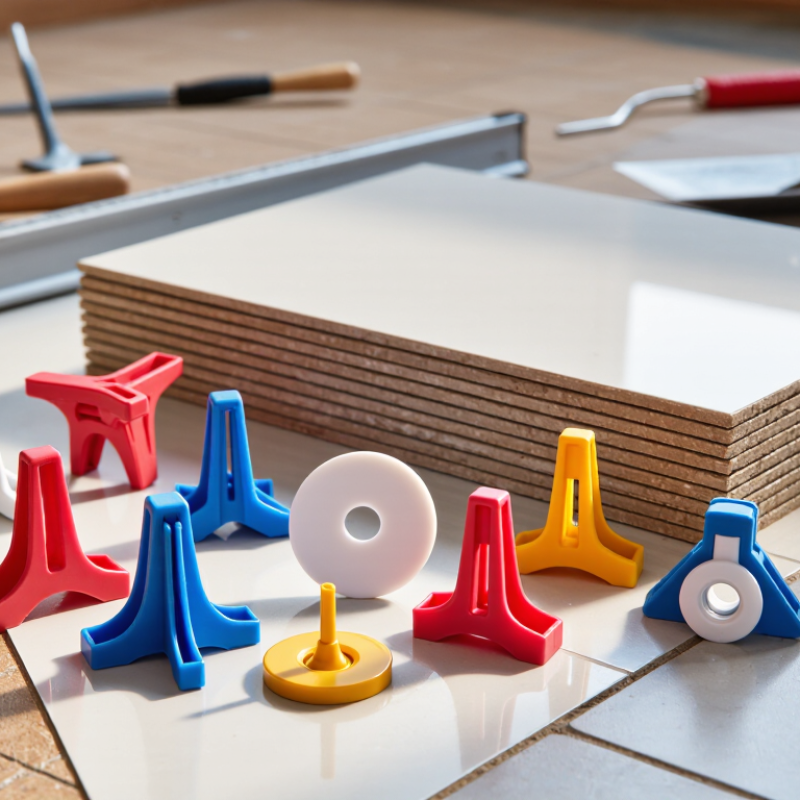
10 Best Tile Leveling Spacers for Professional Results

What Tile Leveling Spacers Are and How They Work

Tile leveling spacers are small clips and wedges that help adjacent tiles finish at nearly the same height. They sit beneath tile edges and apply controlled pressure across the joint. The clip sets the gap. The wedge reduces lippage, or the uneven height between neighboring tiles.

The mechanism is simple, but installation still demands judgment. A 3 mm joint needs compatible clips, consistent pressure, and a flat substrate. Pressing a wedge too hard can move the tile or squeeze out adhesive. It cannot correct a seriously uneven floor. ANSI A108.02 emphasizes proper substrate preparation and consistent grout joints, which remain essential for a durable installation.

The scale of tile work explains why repeatable tools matter. The Tile Council of North America’s 2023 U.S. Industry Report recorded more than 3 billion square feet of tile consumption. Even small alignment errors can become highly visible across large floors. In practice, I place clips near corners and along long edges, then check the surface with a straightedge. Check twice. Remove clips only after the adhesive firms, following its technical sheet. A weak point is easy to miss: leveling systems may improve the surface, but they do not replace layout lines, coverage checks, or movement joints. I once trusted the wedges too much on a slightly bowed substrate. The result looked acceptable from standing height, but side lighting exposed the unevenness.

10 Best Tile Leveling Spacers for Professional Results

Tile leveling spacers maintain a consistent grout joint while helping reduce lippage between neighboring tiles. The chart shows nominal joint-width options commonly used in tile installation, from narrow joints for rectified tile to wider joints for rustic or irregular tile.

Choose the spacer size according to the tile manufacturer’s recommendations, tile edge variation, layout, and grout requirements. Actual joint width may vary slightly because of tile tolerances and installation conditions.

Key Features That Define Professional-Grade Spacers

Professional-grade tile leveling spacers do more than maintain equal grout lines. Their design should control spacing, reduce lippage, and remain stable under pressure. Look for precise dimensions, rigid clips, and wedges that slide smoothly without sudden movement. A reliable spacer should resist cracking when tiles are adjusted, yet remove cleanly after the adhesive cures.

Material quality also matters. Durable polymer handles repeated use and temperature changes better than brittle plastic. For large-format tiles, wider clips and stronger wedges can provide improved alignment across longer edges. However, the system must match the tile thickness and joint width. An oversized clip can distort a narrow grout line. I have learned this through uneven corners and a few avoidable repairs.

Tips: Test several spacers on scrap tiles first. Check the joint under natural light. Tighten wedges by hand, not with excessive force. Clean adhesive from the joint before it hardens. A leveling system cannot correct a badly prepared surface, and that limitation is easy to overlook. Keep extra clips nearby, because some may break during removal. For consistent results, combine accurate layout, a flat substrate, and careful pressure control.

How to Choose the Right Spacer for Each Tile Project

Choosing a tile leveling spacer starts with the tile, not the tool. Measure each tile before buying spacers, because small size differences can change the finished pattern. The 2024 TCNA Handbook stresses substrate preparation, joint consistency, and movement accommodation as essential installation controls. A spacer cannot correct a weak or uneven surface.

For rectified porcelain, narrow joints can create a crisp, modern grid. ANSI A108.02 recommends a grout joint at least three times the tile’s actual edge variation. If a tile varies by 1/16 inch, a 3/16-inch joint may be safer than a narrow 1/8-inch gap.

Larger-format tiles usually need clips that control lippage across longer edges. Use cross spacers for simple wall layouts, T-spacers for running bonds, and adjustable systems when multiple tile sizes meet.

Check the spacer’s working range, removal method, and compatibility with tile thickness.

Thin wall tile may crack under excessive pressure. Heavy floor tile may need stronger clips and a flatter base. Measure twice. Do not guess.

Professional installation reports consistently identify layout errors and substrate movement as frequent causes of cracked grout and uneven surfaces. That finding matches field experience, although spacer systems are not a complete solution.

I have seen perfect-looking joints fail because the adhesive bed was inconsistent. Allow proper curing time, keep joints clear, and inspect the first three rows before continuing. A spacer should support judgment, not replace it.

10 Best Tile Leveling Spacers for Professional Results

Choosing the 10 best tile leveling spacers for professional results starts with the tile itself. Thin porcelain needs precise pressure, while textured stone requires gentler contact. During installation, I check the spacer’s wedge fit, clip strength, and removal direction. A tight system can reduce lippage along a three-meter wall.

The most reliable options usually offer consistent clip thickness, smooth wedge movement, and clear size markings. I prefer reusable wedges with a firm grip, especially when installing large-format tiles. They should hold alignment without forcing the tiles upward. Too much pressure can create hollow spots beneath the adhesive. That mistake is easy to miss.

Work on a clean, flat substrate. Keep adhesive away from the joint and wipe excess material before it hardens. Short clips help in narrow grout lines, but they may feel less stable under heavy tiles. I have also found that some wedges wear faster than expected after repeated use. That is worth considering.

No leveling spacer can correct poor surface preparation, uneven adhesive coverage, or rushed placement. Leave the clips undisturbed until the mortar reaches the manufacturer’s recommended setting time, then remove them with a controlled sideways kick.

Step-by-Step Tips for Using Tile Leveling Spacers Correctly

Tile leveling spacers work best when the surface is prepared carefully. Check that the substrate is firm, clean, and reasonably flat. Remove dust, loose mortar, and oily residue. Dry-fit several tiles first. This reveals awkward cuts and helps maintain a balanced layout. Use the recommended adhesive thickness for your tile size. Too much mortar can make leveling difficult.

Spread mortar with a notched trowel, keeping the ridges consistent. Press each tile down with a slight sliding motion. Insert leveling clips along the tile edges while the mortar remains workable. Place them near corners and add more on long sides. Slide the next tile into position, then insert the wedge by hand. Tighten it until the surfaces feel even. Do not force the wedge. Excess pressure can lift a tile or squeeze out too much mortar.

Check alignment with a straightedge after every few tiles. Small errors become obvious later. Wipe away squeezed mortar before it hardens. I used to ignore this step, and cleaning the joints afterward took much longer. Leave the assembly undisturbed until the adhesive reaches its stated curing time. Remove the clips by striking them parallel to the joint, not upward. Inspect the edges before grouting. A few tiles may still need adjustment, especially over uneven floors. This is where patience matters more than speed.

10 Best Tile Leveling Spacers for Professional Results - Step-by-Step Tips for Using Tile Leveling Spacers Correctly
Rank Leveling Spacer Type Typical Joint Width Common Tile Thickness Suitable Tile Formats Best Application Reusable Parts Key Installation Detail
1 Wedge-and-Clip System 1/16–1/8 in
(1.5–3 mm)
1/8–1/2 in
(3–12 mm)
Large-format wall and floor tiles General professional installation with consistent joints Wedges are reusable; clips are normally disposable Insert clips beneath adjoining tile edges, then press wedges into the clips by hand or with leveling pliers.
2 Spin-Top Cap System 1/16–1/8 in
(1.5–3 mm)
1/8–1/2 in
(3–12 mm)
Rectangular, square, and plank tiles Fast alignment over broad floor areas Caps are reusable; clips are normally disposable Thread or twist the cap down until the tile faces are flush; avoid overtightening, which can squeeze out adhesive.
3 Threaded-Cap Clip System 1/16–1/8 in
(1.5–3 mm)
1/8–3/4 in
(3–19 mm)
Thick porcelain and natural-stone tiles Installations requiring fine height adjustment Threaded caps are reusable; clips are normally disposable Adjust the cap gradually from several points instead of tightening one corner completely.
4 T-Lock Spinning Spacer 1/16–1/8 in
(1.5–3 mm)
Up to about 1/2 in
(12 mm)
Large-format square and rectangular tiles Reducing lippage on long tile edges Threaded tops are reusable; bases are normally disposable Rotate the top until adjacent tile surfaces align, keeping pressure moderate around corners.
5 Flat-Base Wedge Clip 1/8 in
(3 mm)
1/8–1/2 in
(3–12 mm)
Medium and large floor tiles Reliable spacing where a wider grout joint is specified Wedges are reusable; clips are normally disposable Seat the clip fully under both tile edges before inserting the wedge to prevent uneven pressure.
6 Narrow-Joint Clip System 1/32–1/16 in
(0.8–1.5 mm)
About 1/8–3/8 in
(3–10 mm)
Rectified porcelain and calibrated ceramic tiles Minimal-joint layouts where tile edges are precisely manufactured Pressure pieces may be reusable; clips are normally disposable Confirm that the tile manufacturer permits the selected narrow grout joint before installation.
7 Wide-Joint Wedge Clip 3/16–1/4 in
(5–6 mm)
1/8–1/2 in
(3–12 mm)
Handmade-look, rustic, and uneven-edge tiles Layouts that need extra grout movement and visual variation Wedges are reusable; clips are normally disposable Use the spacer to maintain the planned joint, but allow irregular tile edges to determine the final visual alignment.
8 Cross-Style Leveling Spacer 1/16–1/8 in
(1.5–3 mm)
About 1/8–3/8 in
(3–10 mm)
Small and medium square tiles Wall tile grids and straightforward installations Usually reusable when removed before adhesive hardens Place the cross at tile intersections and use only enough pressure to keep faces even.
9 T-Shape Edge Spacer 1/16–1/8 in
(1.5–3 mm)
About 1/8–3/8 in
(3–10 mm)
Brick-pattern, subway, and staggered layouts Maintaining alignment along running-bond joints Usually reusable if cleaned promptly Position the stem in the joint and check each course with a straightedge to control cumulative movement.
10 Adjustable Puck-and-Clip System 1/16–1/8 in
(1.5–3 mm)
1/8–3/4 in
(3–19 mm)
Mixed-thickness tile and stone surfaces Projects where tile thickness changes across the layout Adjustment pucks are reusable; clips are normally disposable Set the puck height for the thickest section first, then make small adjustments while checking with a straightedge.

Compatibility note: Dimensions shown are common working ranges for these spacer formats, not universal specifications. Always verify the clip opening, tile thickness, joint width, adhesive-bed depth, and installation instructions for the specific system being used.

Step-by-Step Tips for Using Tile Leveling Spacers Correctly

  1. Prepare the surface: Make sure the substrate is clean, stable, flat, and suitable for the selected tile and adhesive.
  2. Plan the layout: Dry-fit several rows, establish reference lines, and confirm the desired grout-joint width before spreading adhesive.
  3. Apply adhesive evenly: Comb the adhesive in one direction and back-butter large or heavily ridged tiles when required.
  4. Set the first tiles carefully: The first row controls the alignment of the entire installation, so check it with a level and straightedge.
  5. Insert the spacers or clips: Place them at the recommended locations, commonly near tile corners or along long edges, without blocking full adhesive coverage.
  6. Level gradually: Tighten wedges, caps, or pucks in small increments while checking the tile faces from multiple directions.
  7. Remove excess adhesive: Clean adhesive from joints before it cures, leaving enough depth for the specified grout.
  8. Allow proper curing: Do not walk on or disturb the installation until the adhesive manufacturer’s required cure time has passed.
  9. Remove the system correctly: Strike disposable clips parallel to the grout joint with a rubber mallet or kick tool; do not strike downward against the tile edge.
  10. Inspect before grouting: Confirm that joints are clear, tile faces are aligned, and no spacer component remains embedded in the grout space.